
Neos QuickBooks SDK Integration
The QuickBooks SDK Accounting Integration with Needles Neos is a direct bidirectional link between the Needles Neos data and the QuickBooks database. When using this integration, You will be able to request checks, enter deposits, and enter time entries in Needles that will link to your QuickBooks data.
The Neos QuickBooks integration allows you to send Names (Providers and Parties), check requests and deposit requests from Neos to QuickBooks.
- The Payee is the Value Provider in Neos and becomes a Vendor in QuickBooks.
- The Party in Neos becomes a Customer in QuickBooks.
Neos sends the data to the Neos QB Integrator then the user will post Names, Checks, and Deposits from the Integrator to QB (similar to Export window in previous versions).
Technical Specifications
Minimum version required: QuickBooks 2014 Pro, Premiere or Enterprise.
Needles Neos Quickbooks Integrator, Version 2.1.1
Installing the QuickBooks Integrator
- Download the Integrator from the Change Log or click on the following link Download QuickBooks Integrator 2.1.1
- Extract the file in the QBNeedlesSetup_v2.1.1.zip file. Double-click on the QBNeedlesSetup.exe and follow the prompts in the InstallShield Wizard:
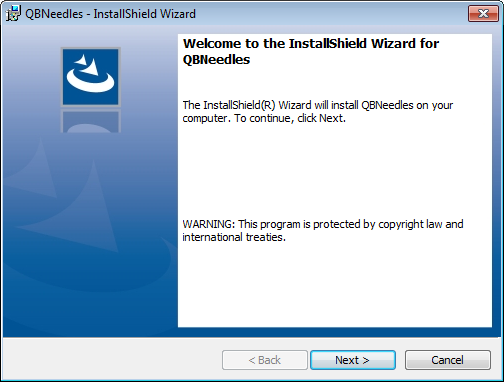
- Click Next thru the installation process. Select the Launch the program option and click Finish. The Needles QuickBooks Integrator will open.
Connecting the Neos QuickBooks Integrator
To connect QuickBooks to Neos you must have the Needles Neos QuickBooks Integrator and the QuickBooks application running on the same PC
- Open QB Integrator and log in with your Neos credentials. Select the Remember check box to automatically login when opening the Integrator
The Integrator will display.
- Verify the QuickBooks SDK integration has been enabled and is connected to your Needles database by going to Settings > Integrations > QuickBooks SDK which displays the status.
- To connect the Integrator to a QuickBooks Company file, click on the green QB icon on the Integrator main screen to start the QuickBooks Connection Wizard.
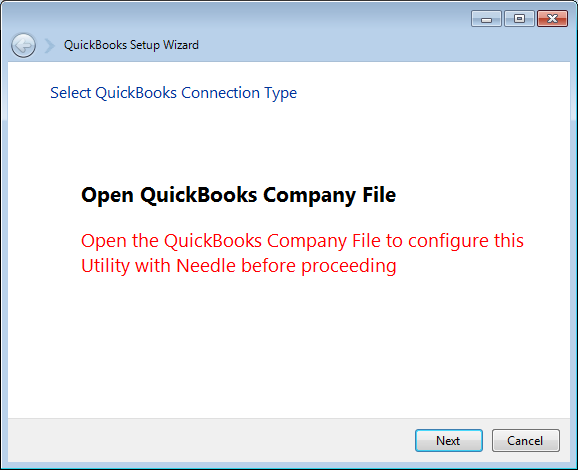
- Again, make sure you have QB open to the desired Company file and click the Next button on the wizard.
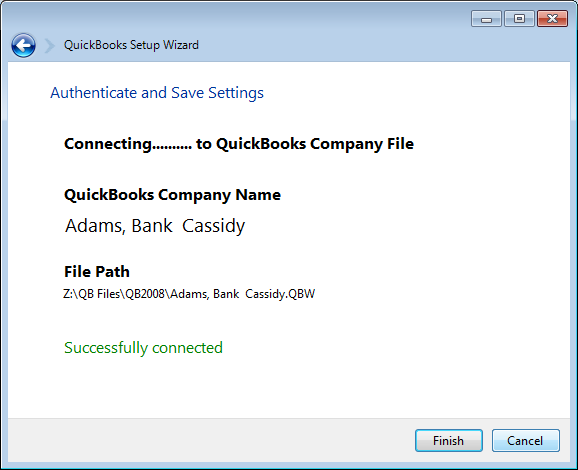
- The Integrator will connect to your open QB Company File and display a “Successfully connected” message. Click Finish.
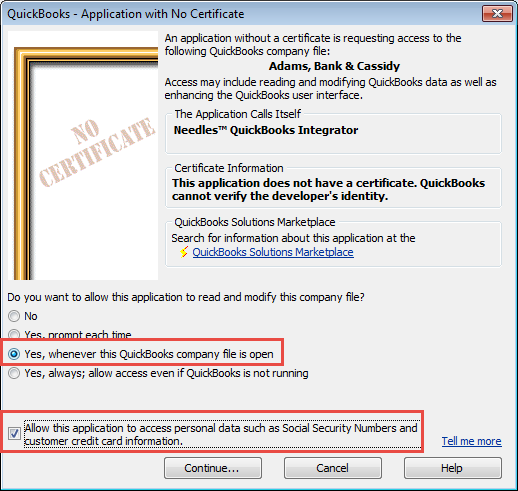
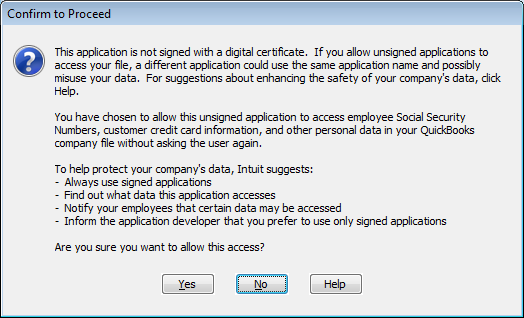
- Click OK on the saved settings message. The first time you connect to a company file, you may get a prompt to grant the Needles QB Integrator access. Select the options:
- Yes, whenever this QuickBooks company file is open.
- Allow this application to access personal data such as Social Security Numbers and customer credit card information.
- Click Yes on the Confirm to Proceed message.
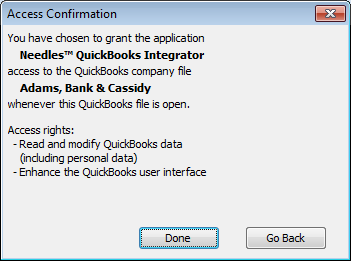
- An Access Confirmation should display. Click Done to proceed.
Linking Names
In order to exchange information between Needles and QuickBooks SDK, Parties and Providers in Needles need to be
linked to Customers and Vendors in QuickBooks. This section details how to create and change those links.
Click the Link icon on the QB Integrator to create or update link settings for existing Party/Customer and Provider/Vendor names. For any name with a link to integrator you can change sync option.
A user must have permission to add/modify an Accounting Link.
To create an accounting link,
- Select Search Type to search by Name or Case.
- Enter a fragment of the desired name and click on the Search button. The matching names in Needles will display below.
- Select the name you want to link. The Names Id from Neos will display in the Id Field
- Below the Id field, select the Link Type to Customer or Vendor.
- Select the desired Sync Option. No Link (undo a link), Link Only (no updating), Link & Update (update name and address changes).
- Enter a fragment of the desired name in the QuickBooks Full Name field and click on the Search button. The matching names in QuickBooks will display in the Search QuickBooks (Customers/Vendors) window.
- Select the name and click on the Select option at the bottom right of the window.
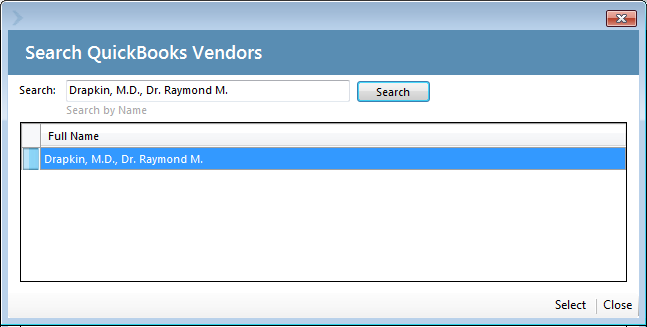
- The QuickBooks Full Name field will be populated with the name as it appears in QuickBooks.
- Click the Update Link button to refresh or create the link with the currently selected Sync options.
- Click the Unlink button to remove an unwanted existing link.
Adding Parties/Providers from Neos
If no name is found in QuickBooks when searching in the Integrator, you can add customers and vendors to QuickBooks in the following ways:
- Add the Customer/Vendor manually in QuickBooks and then use the Integrator to link it.
- If the name already exists as a Party or Provider in Neos, when posting a check or deposit request for that Customer/Vendor from the Integrator, it will automatically be created and linked in QuickBooks
- Add a new Party or Provider in Neos, and it will send it automatically to the Integrator when you click Save, where it can then be posted to QuickBooks
- Check the Names Queue in the Integrator. To open the Names Queue, click on the queue icon in the upper left corner. (Click Refresh if you already have it open.)
The Names Queue will display.
- Select the names you want to send to QuickBooks.
- Click on the Post to QuickBooks button. The
Status column will update to show that the names were added as a Customer or
Vendor in QuickBooks.
Sending Check/Deposit Requests from Neos
To send a check or deposit request,
- Open the value tab in the desired case
- Select the value item or add a new value item
that needs to be paid or credited. - Click on Add Transaction to enter a new payment or adjustment transaction.
- Transaction C/D = Debit = Check request
- Transaction C/D = Credit = Deposit request
- If the transaction is coming from a value item with a Value Code flagged as a DTF (e.g., CASEEXP), the option to Add a corresponding DTF value as well option will be displayed. Use the slider to select whether you want a DTF item created when the transaction is saved.
- To request the check for the transaction, use the slider to select the Create a check request after creating a transaction option.
- Click Save. The Check/Deposit Request screen will display.
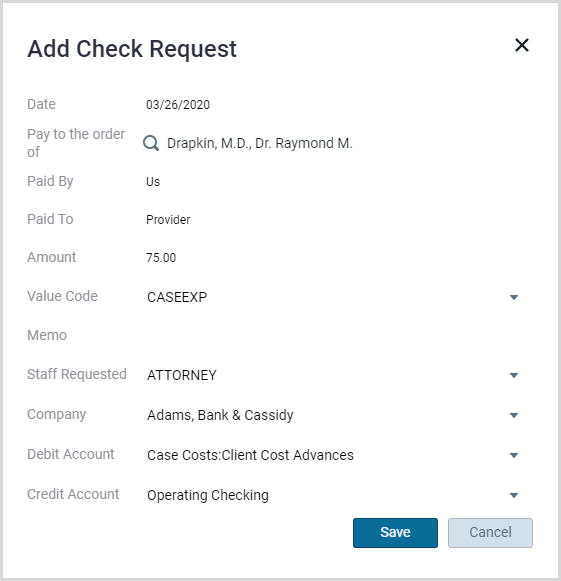
- Enter the appropriate information, selecting the QuickBooks company, debit and credit accounts. If preferred, the company and
Debit/Credit accounts can be selected or changed in the Integrator prior to posting them to QuickBooks. - Clicking Save will send the check/deposit request to the Check or Deposit Queue in the Integrator. To open a queue and verify the check/deposit request is pending, click on the queue icon in the upper left corner.
- Check Queue – Stores the pending check requests to be posted to QuickBooks
- Deposit Queue – Stores the pending deposit requests to be posted to QuickBooks.
- Names Queue – Stores the pending changes to Names to be posted to QuickBooks.
[NOTE: If you used previous versions of Needles with QuickBooks SDK integration, you will notice the Check and Deposit Queues is like the Export Checks/Deposits Window in the older versions.]
The check/deposit will display in the corresponding pending list. To send the requests to QuickBooks,
- Select the check(s)/deposit(s) then click on the Post to QuickBooks button. The Status column will populate with a success message when the post is successful. If there is a problem, an error will be displayed in the Status column.
- Clicking the Refresh button will remove the successfully posted transactions from the list, and any new requests will be displayed.
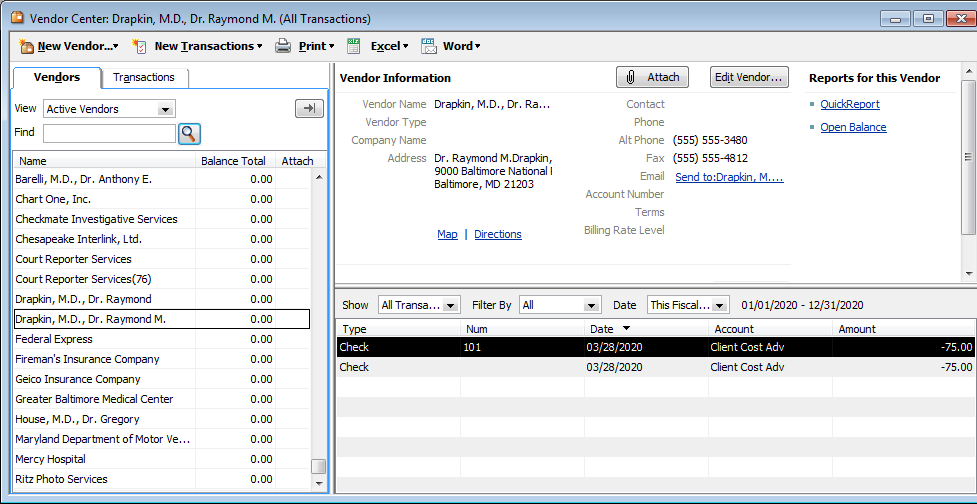
- Go to QuickBooks and open the new check request from the check register or from
the transactions in the Vendor record.
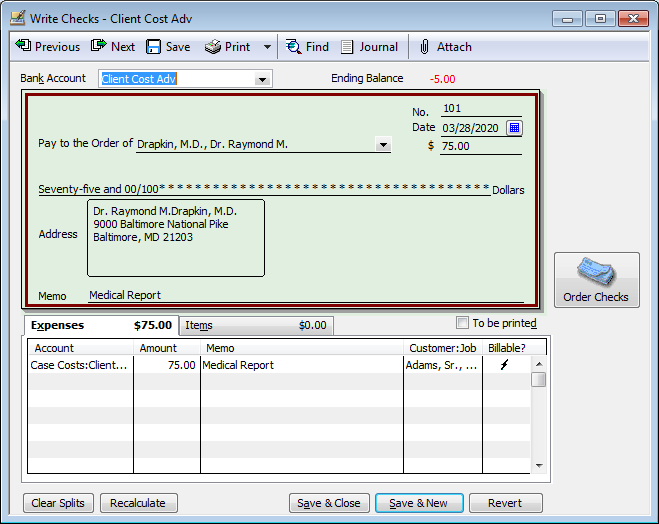
When the check is printed the Check # should populate the Reference field of the transaction in the Value item from which the request originated